

25 Feb Combining Projects to Add Areas
If you’ve created separate projects for different Areas in a single property, and if you want to combine them into a single project with Areas, please follow these steps…
Before you go right to combining projects together, you’ll need to do a few things in advance, otherwise you will end up with a lot more work! You need to put all the plants into Areas first, otherwise when you go to combine the projects, all the plants will be dumped into one large plant list.
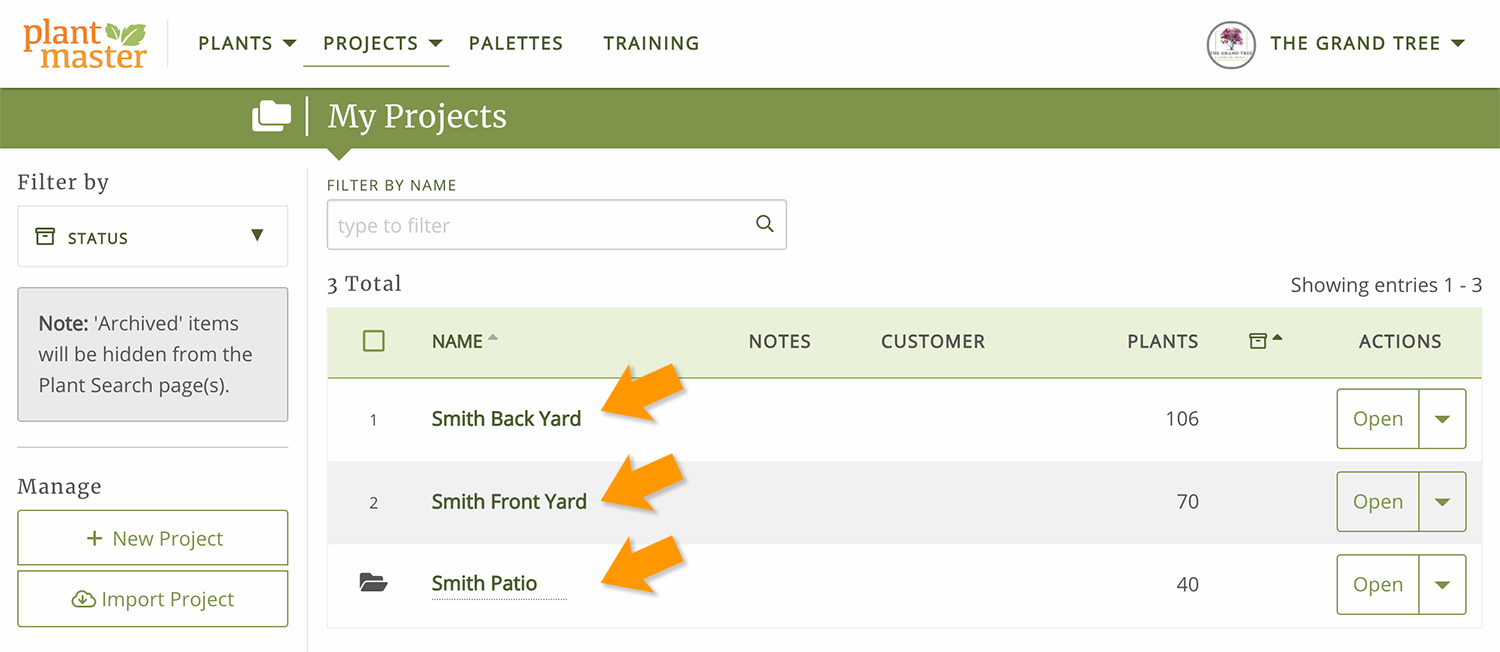
In our example, we will combine “Smith Back Yard”, “Smith Front Yard”, and “Smith Patio” into a final “Smith Residence” with three areas for “Back Yard”, “Front Yard”, and “Patio”.
The first step is to go to “My Projects and identify the projects you want to combine.
For each project you want to use, please follow these instructions:
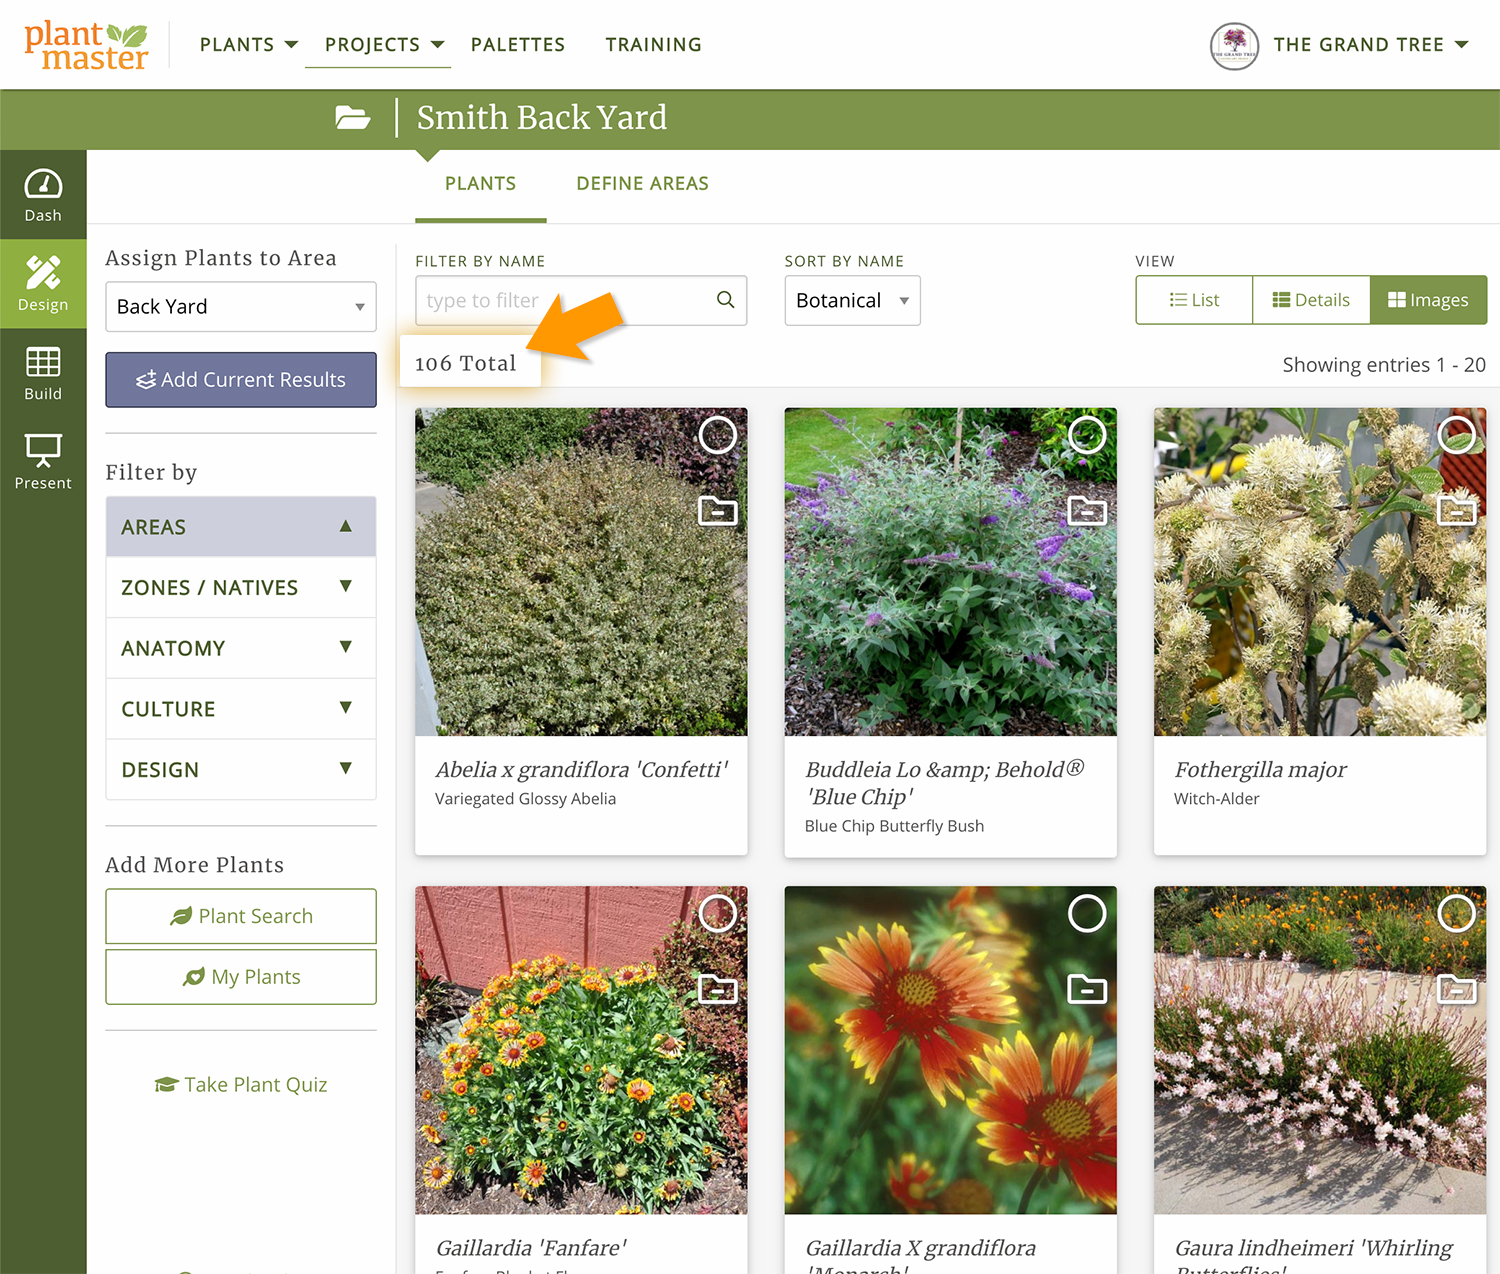
First, open a project to view the plants inside. We’ve chosen to open “Smith Back Yard”. When you open the project, you’ll be taken to the Design section. On this page, please note the total number of plants in the entire project. For our example, there are “106” plants in the project.
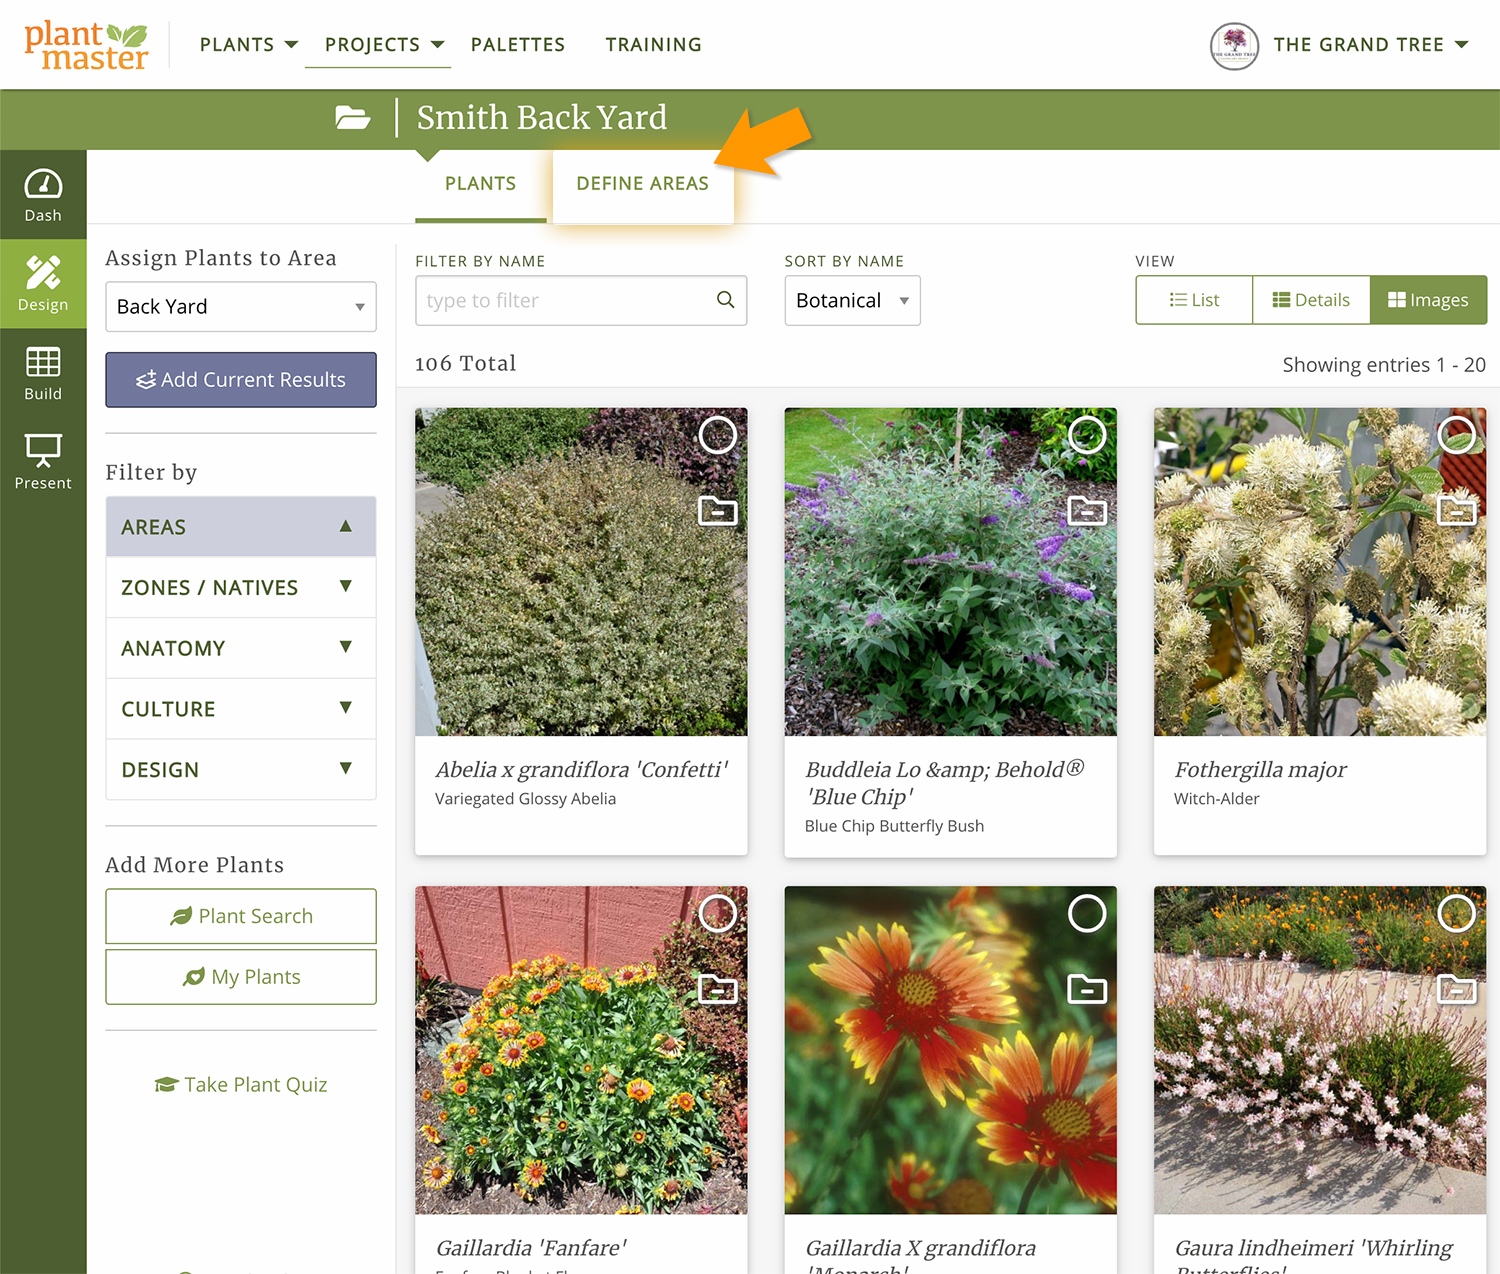
Next, you need to add all these plants to an Area! That way the Areas will be in place when you combine the projects. So, click on the tab called “Define Areas” to create a new Area.
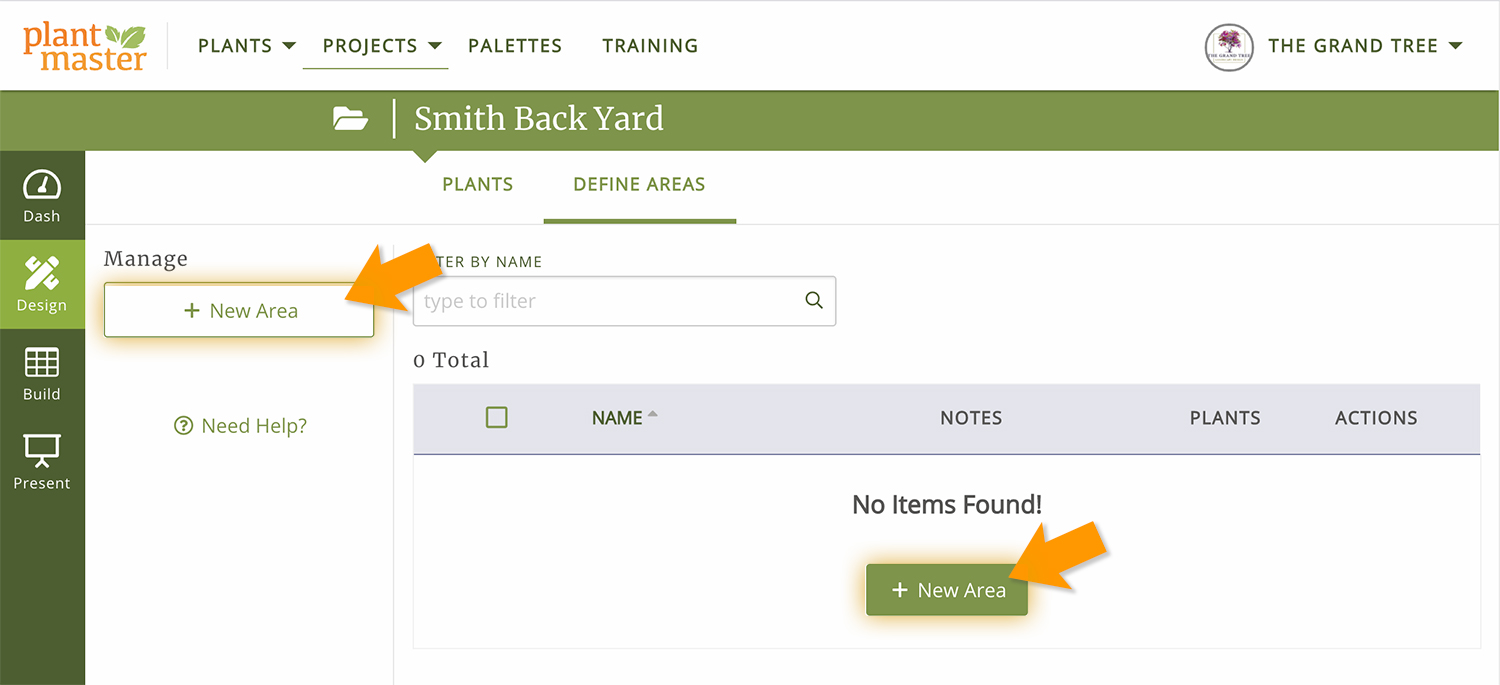
On this page, click on the button “+New Area” to create brand new Area.
Here is the most critical step: make sure you name the Area something unique. When you go to combine the projects, you don’t want any of the Area names to be the same. So for our example, we named the Area “Back Yard”.

The last step is to add all the plants from the entire project into the Area you’ve just created.
Go back to the Plants page. Make sure the new “Back Yard” option is selected in the “Assign Plants to” section. Then click “Add Current Results” to add ALL your plants to this Area. This will add all 106 plants to the “Back Yard” Area.
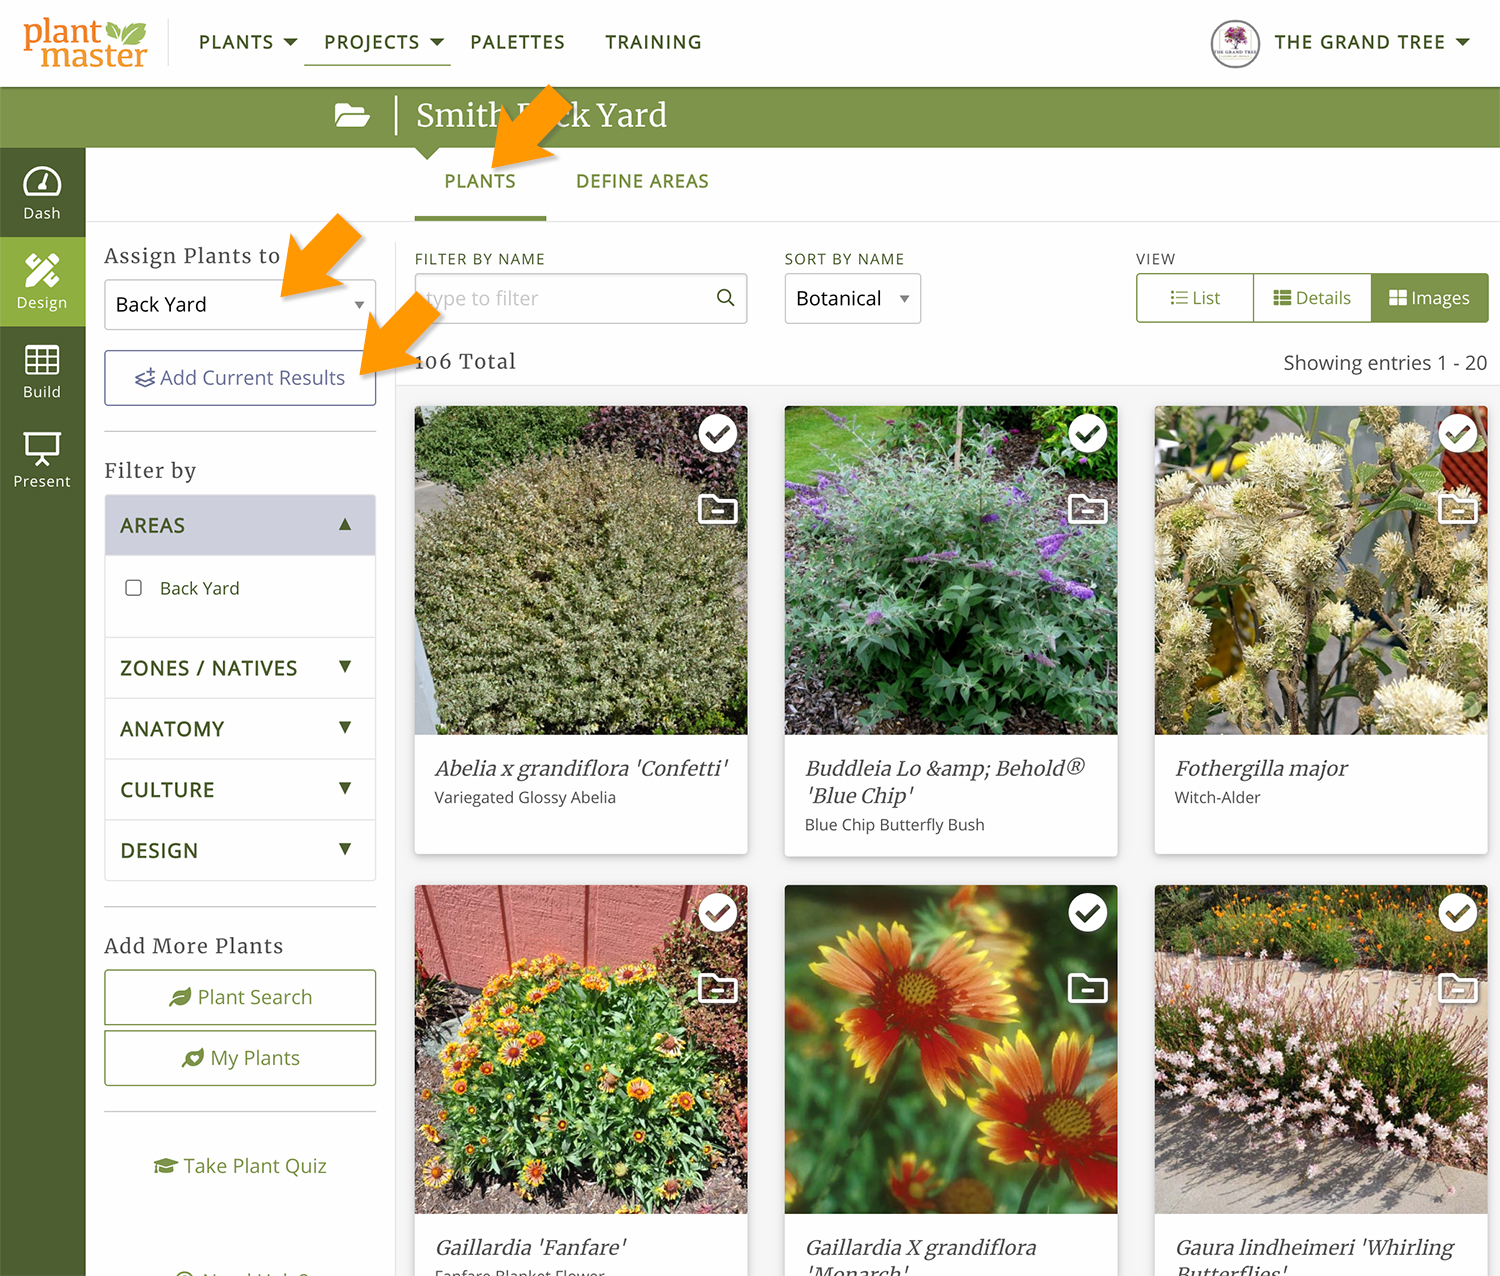
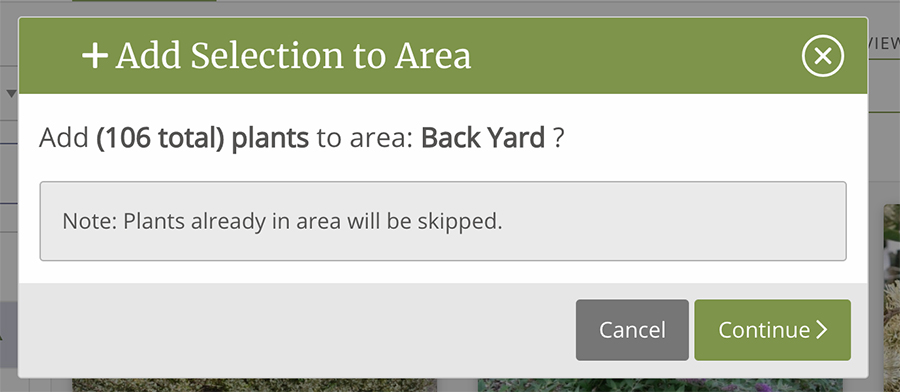
You will get a pop up making sure you want to add all plants to the Area. Click “Continue” to complete the process.
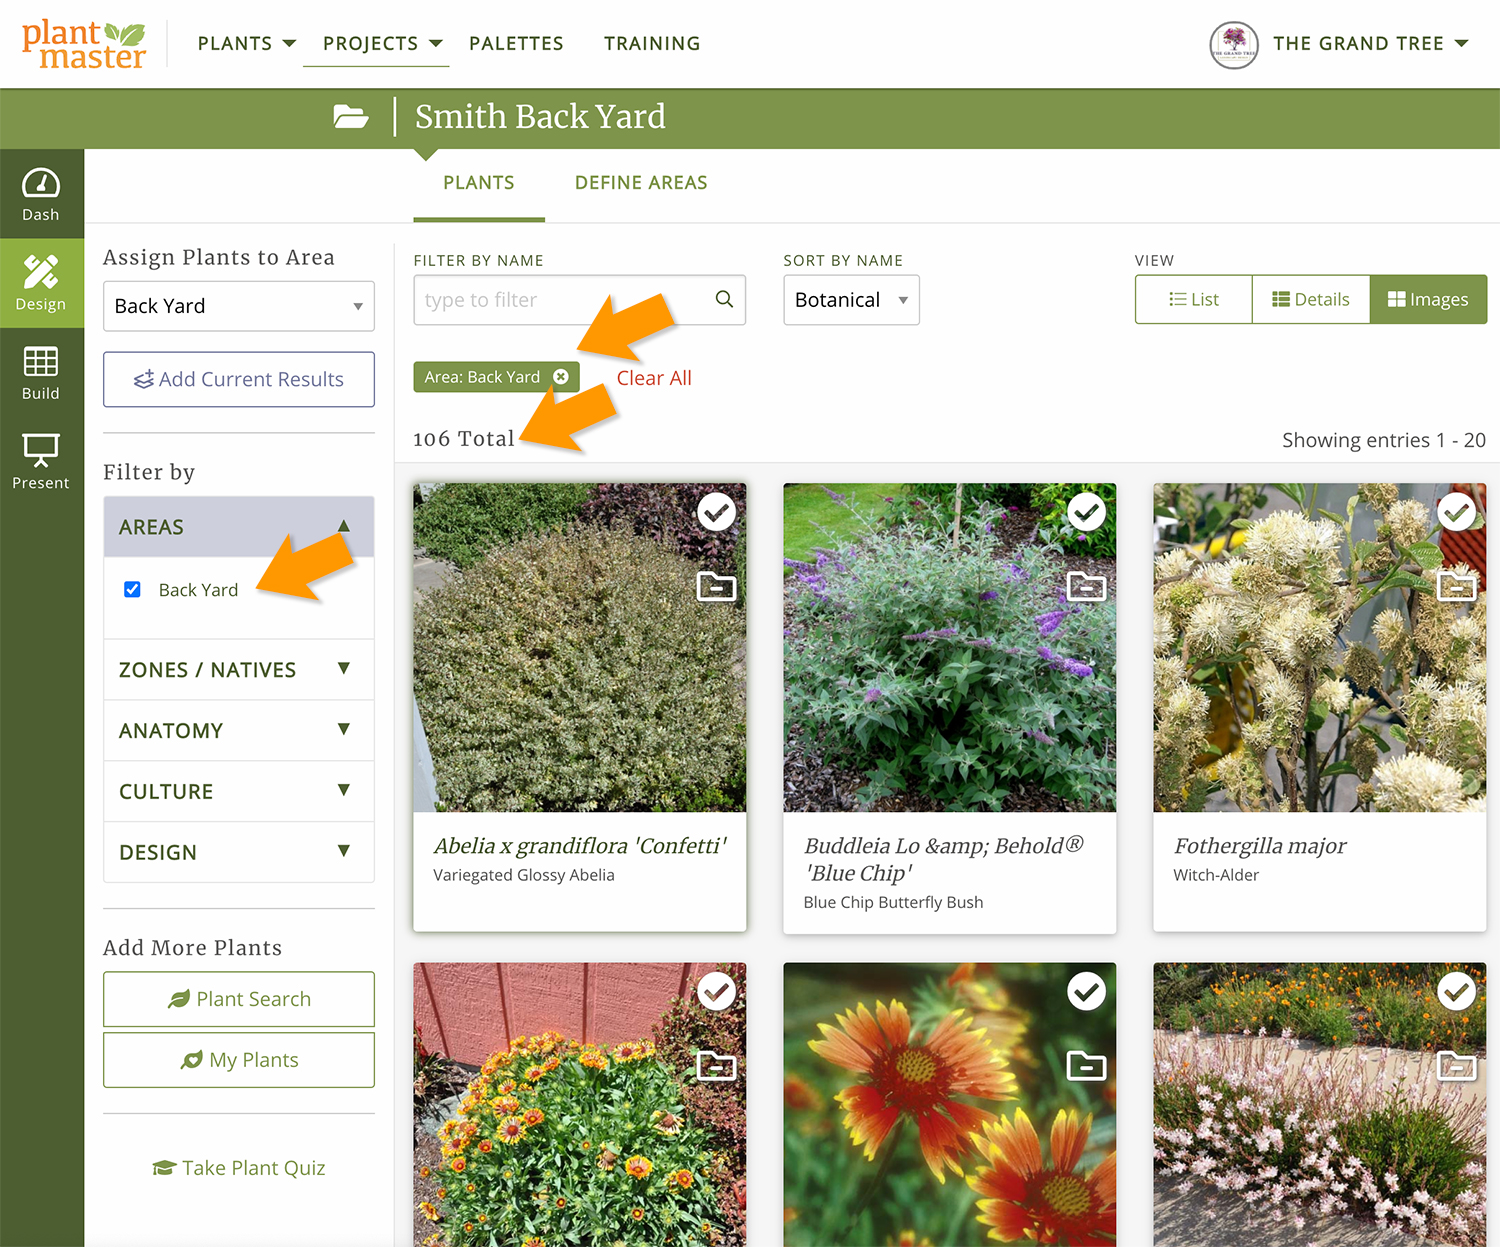
Now all 106 plants are in the Back Yard Area!! To double check that this process worked, you can review your work in two locations…
You can select the Areas filter on the Plants page.
Notice there are 106 Total plants when we select this filter.
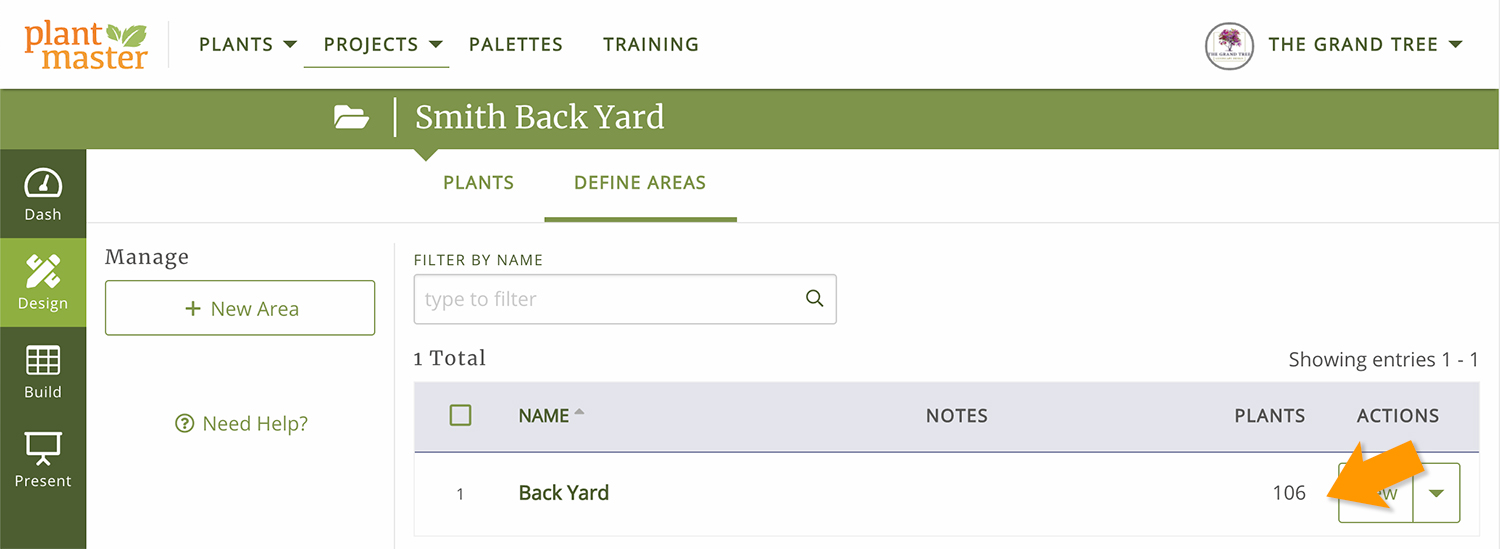
Or you can go back to the Define Areas page and see the 106 plants listed next to the Back Yard Area. Again, notice there are 106 plants assigned to the Back Yard Area.
You have successfully created an Area for the Back Yard. Repeat this process for the other projects you want to convert. In our example, we will repeat the process for “Smith Front Yard” and “Smith Patio” projects. We will add 70 plants to a “Front Yard” Area and 40 plants to a “Patio” Area.
Reminder: Make sure to name your Areas something unique as they will all be copied to your new project in the final step.
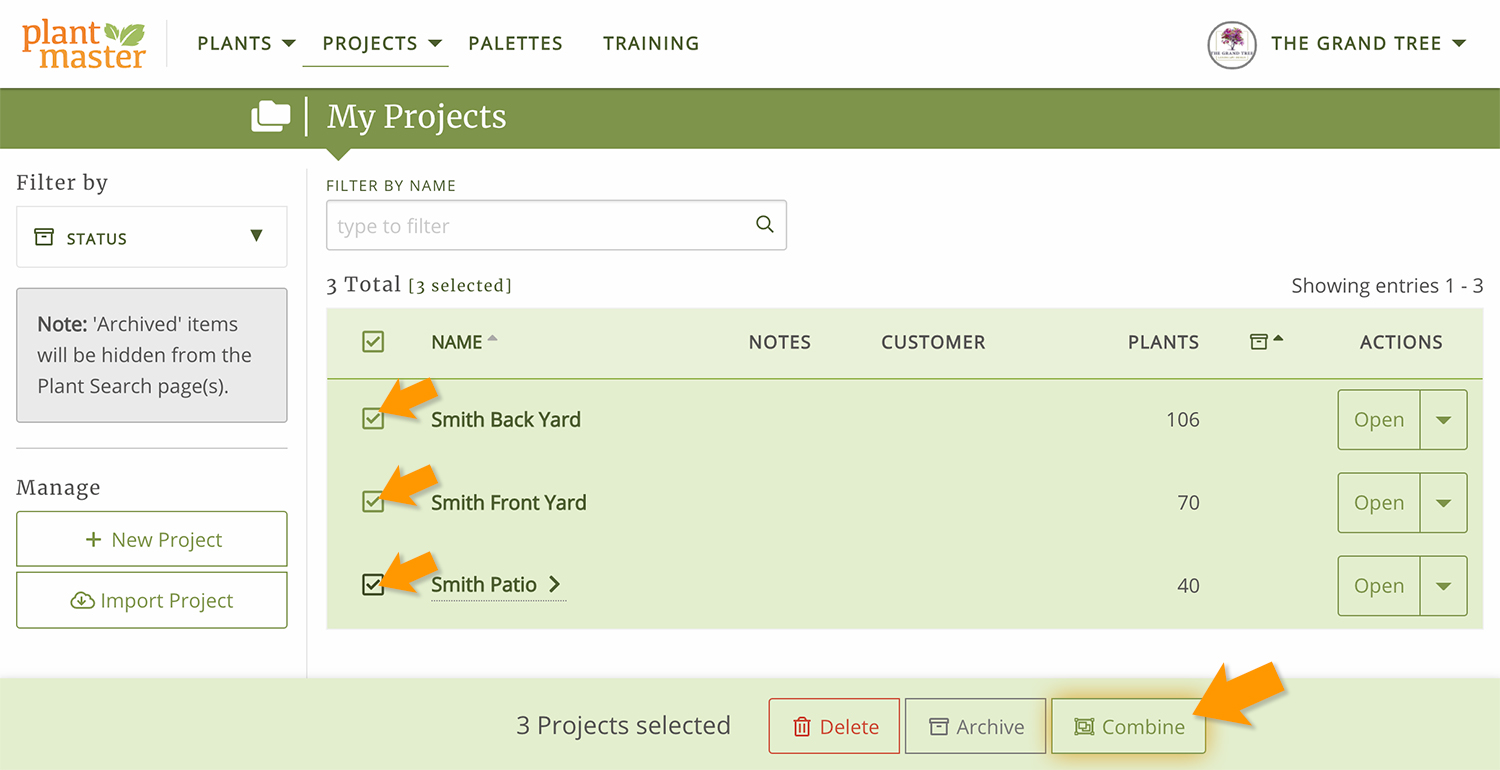
Once you have created Areas for each of your projects, return to the “My Projects” page. Now it’s time to combine your projects. Click on the check box next to each project you want to combine. At the very bottom of your screen, you’ll see a toolbar with options. Click “Combine” to combine your projects.
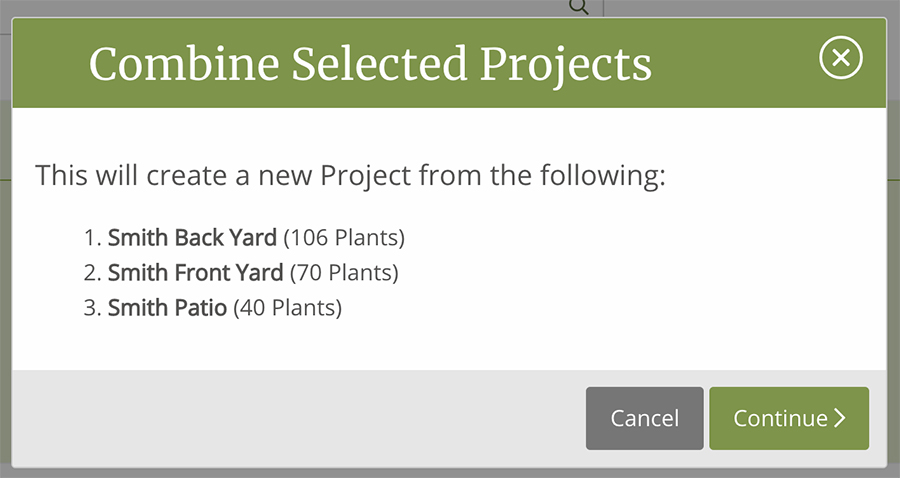
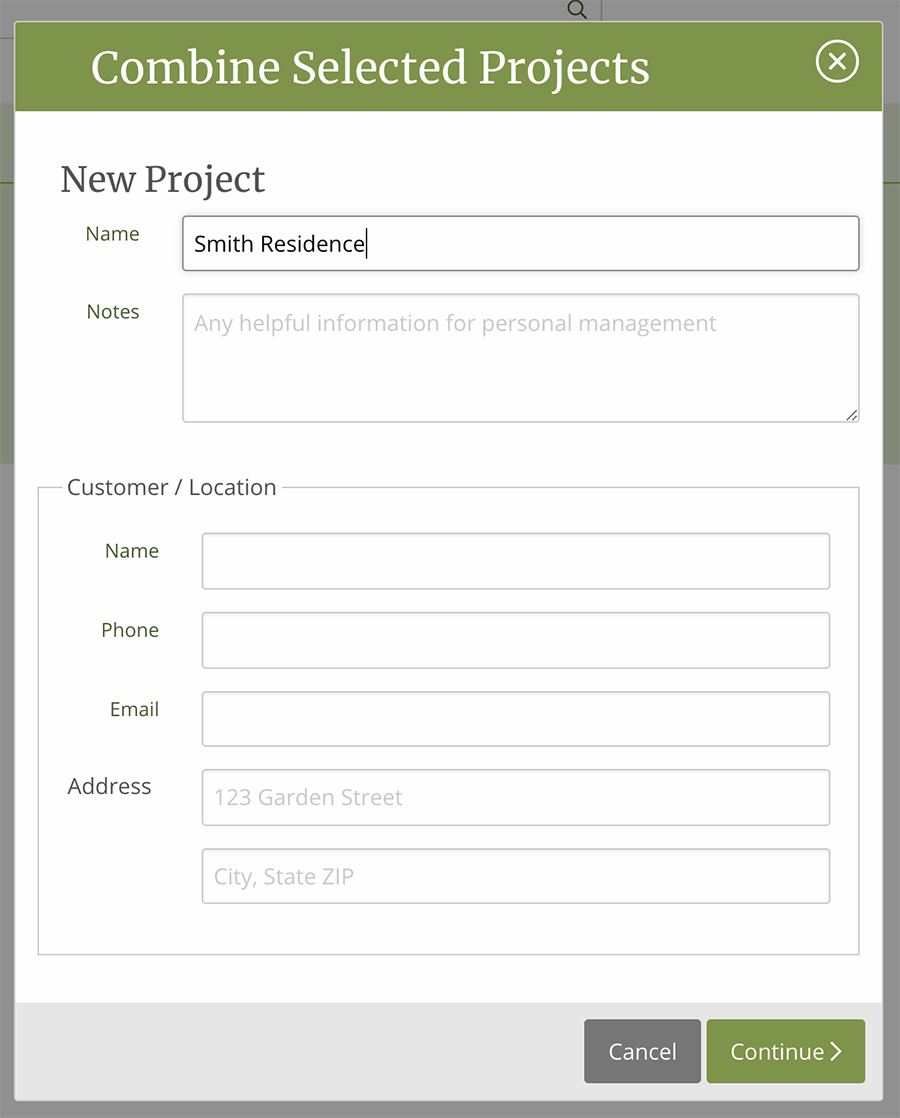
Click “Continue” on the pop-up modal and name your new project to complete the process!
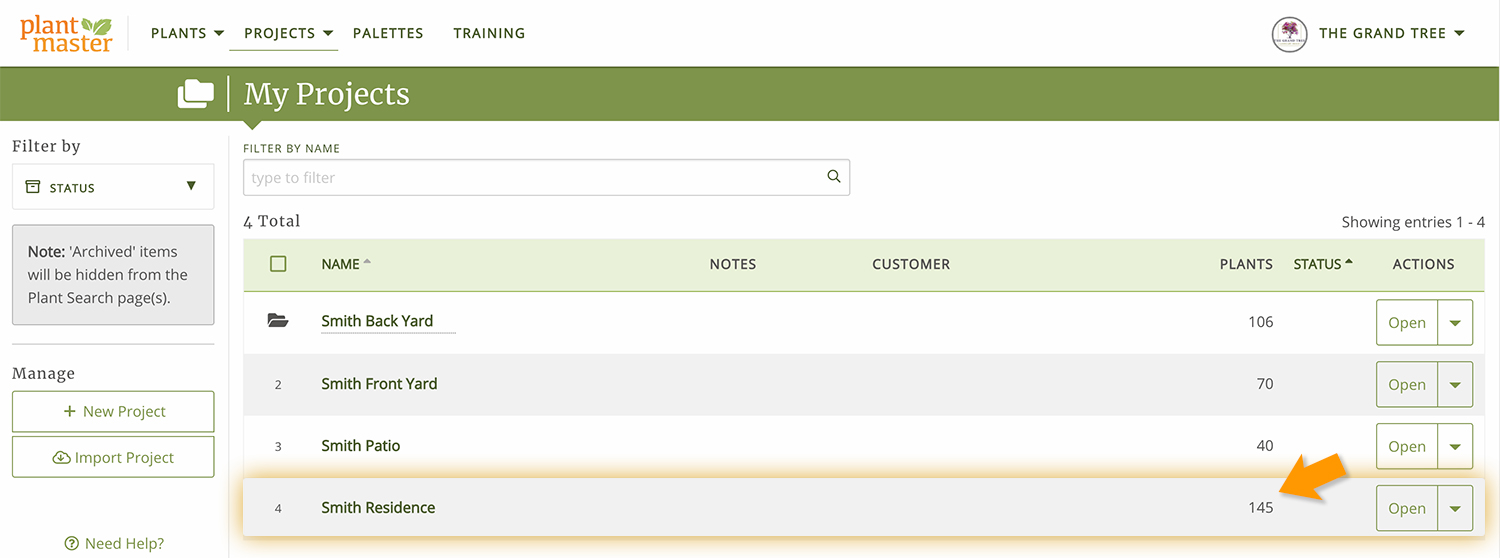
Now you have a brand new project with the Areas already defined!
In our example, we have a new project called “Smith Residence.
Please note: If you use the same plants in different Areas, they will only be counted once. So don’t worry if the total number of plants isn’t the total of the combined projects. In our case, the total number of plants is “145”.
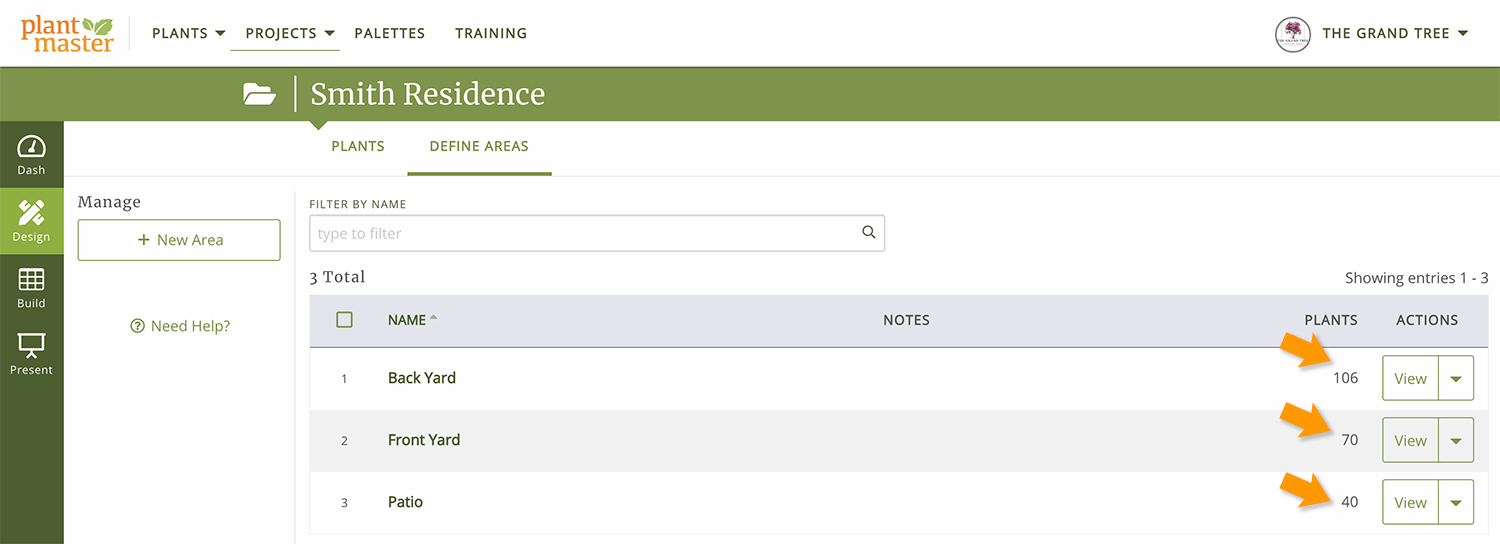
To review your work, open the project and go to the “Define Areas” page in the Design section.
Congratulations! You’ve combined your projects into a new project with Areas.
Notice the three Areas in our example and the total number of plants that match the numbers from their original project.
As a last step, you can delete the older projects to keep your list clean. But make sure you your new project is correct before you delete anything!