
24 May Style Your Presentations
In this article you’ll learn how to style your presentations. We’re just getting started with options to stylize your presentations, reports, and legends, so please give us some feedback about what you would like to see or what would be helpful! Thanks – email any suggestions to kayla@plantmaster.com. For a complete tour of the interactive presentation and how to send it to your customer, please read the training article titled Creating and Sending Interactive Presentations.
Let’s start styling!
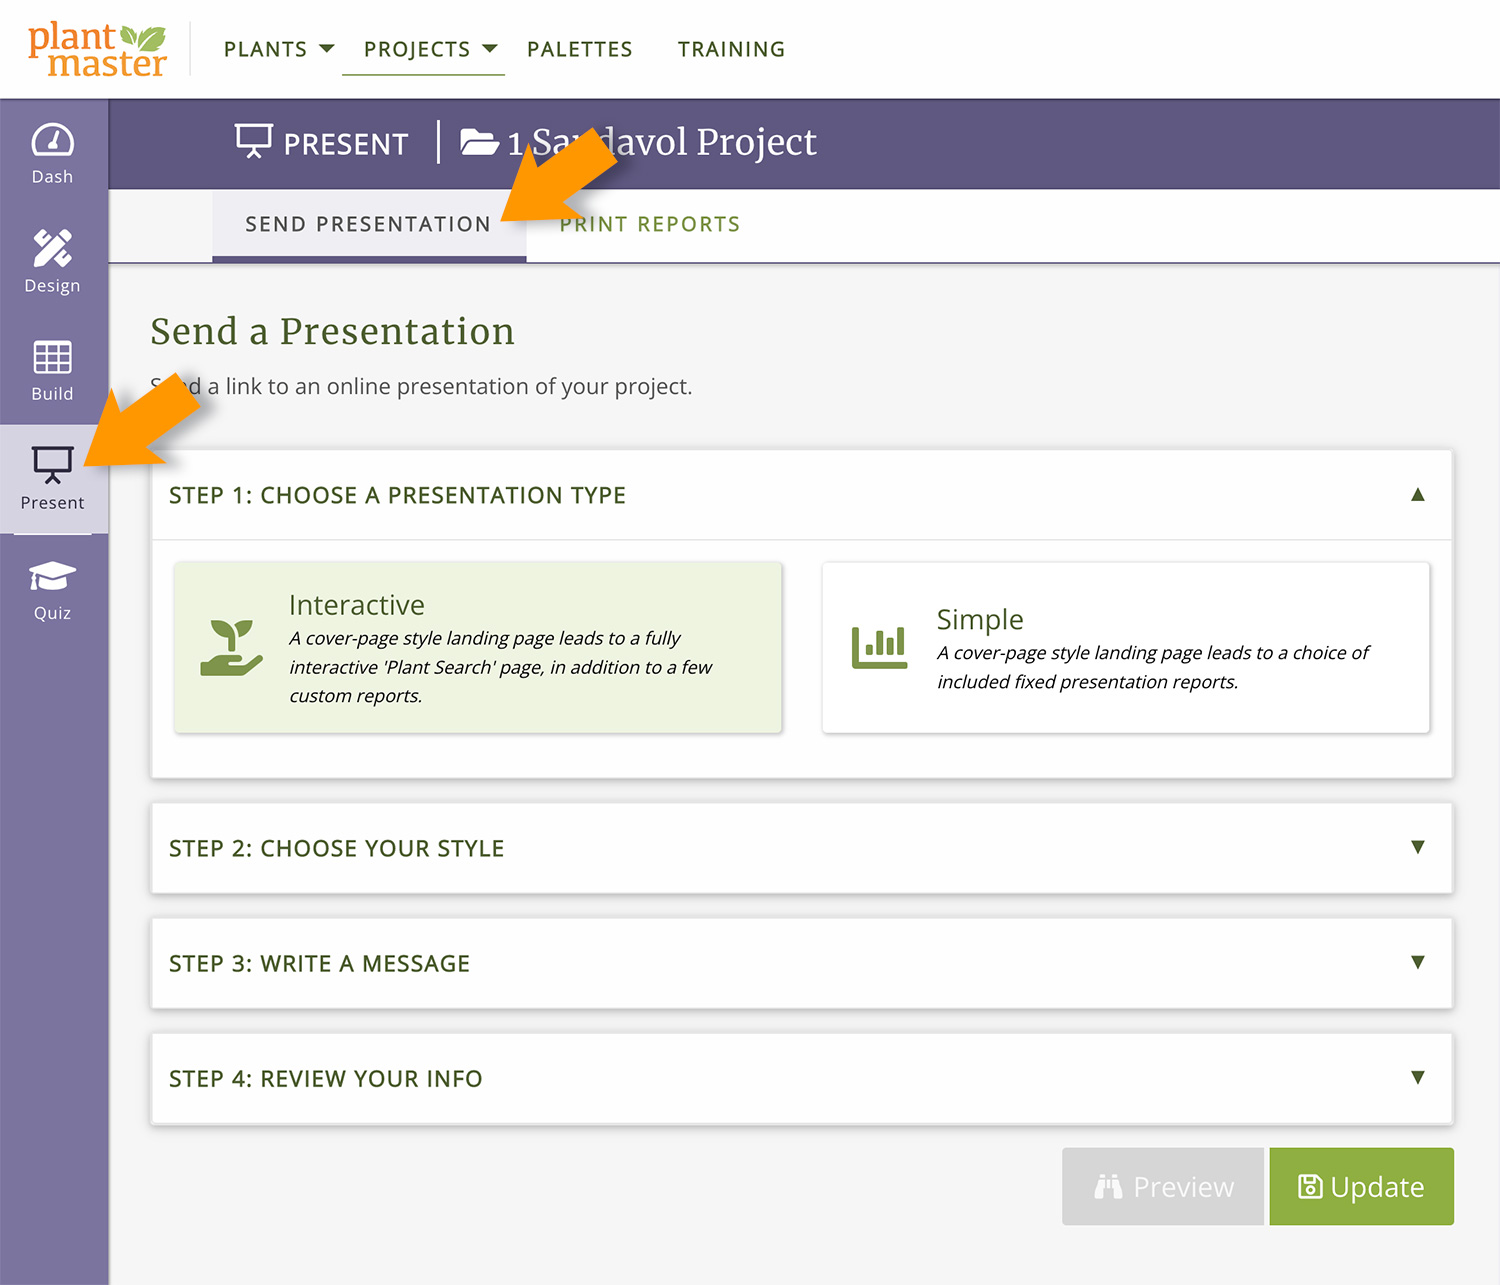
Open any project and make sure you are in the Present section. Just below the project name, you’ll see a series of tabs. Make sure you are on the tab named “Send Presentation”. This is the section where you manage your presentations.
Style your presentations
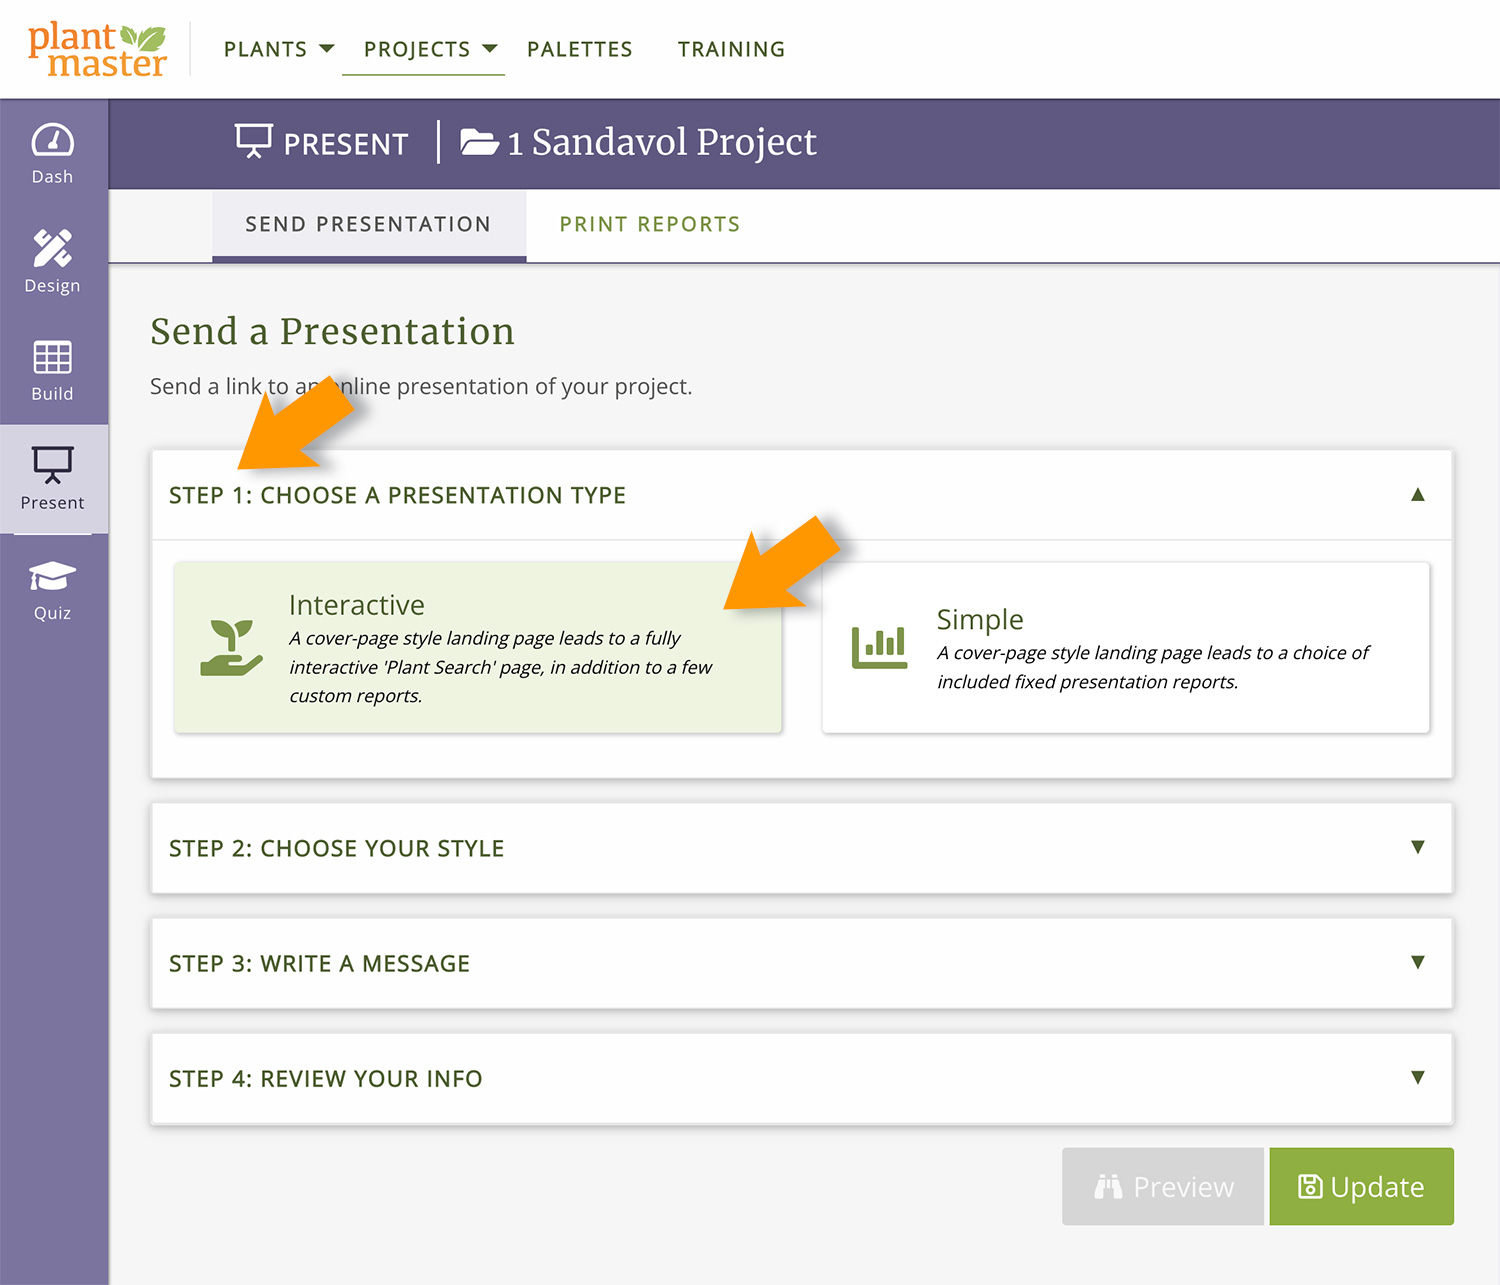
To select your styling, you’ll need to pick a presentation type first. If you need any help or details about the two different types of presentations – read this article (link here).
For this example, we picked Interactive Presentation by going to “Step 1” and selecting “Interactive Presentation”.
Now you can move to Step 2.
For reference, this is what the standard cover page looks like in your Interactive and Simple Presentations – So let’s make some changes!

Here are all the elements you can modify on the Cover Page.
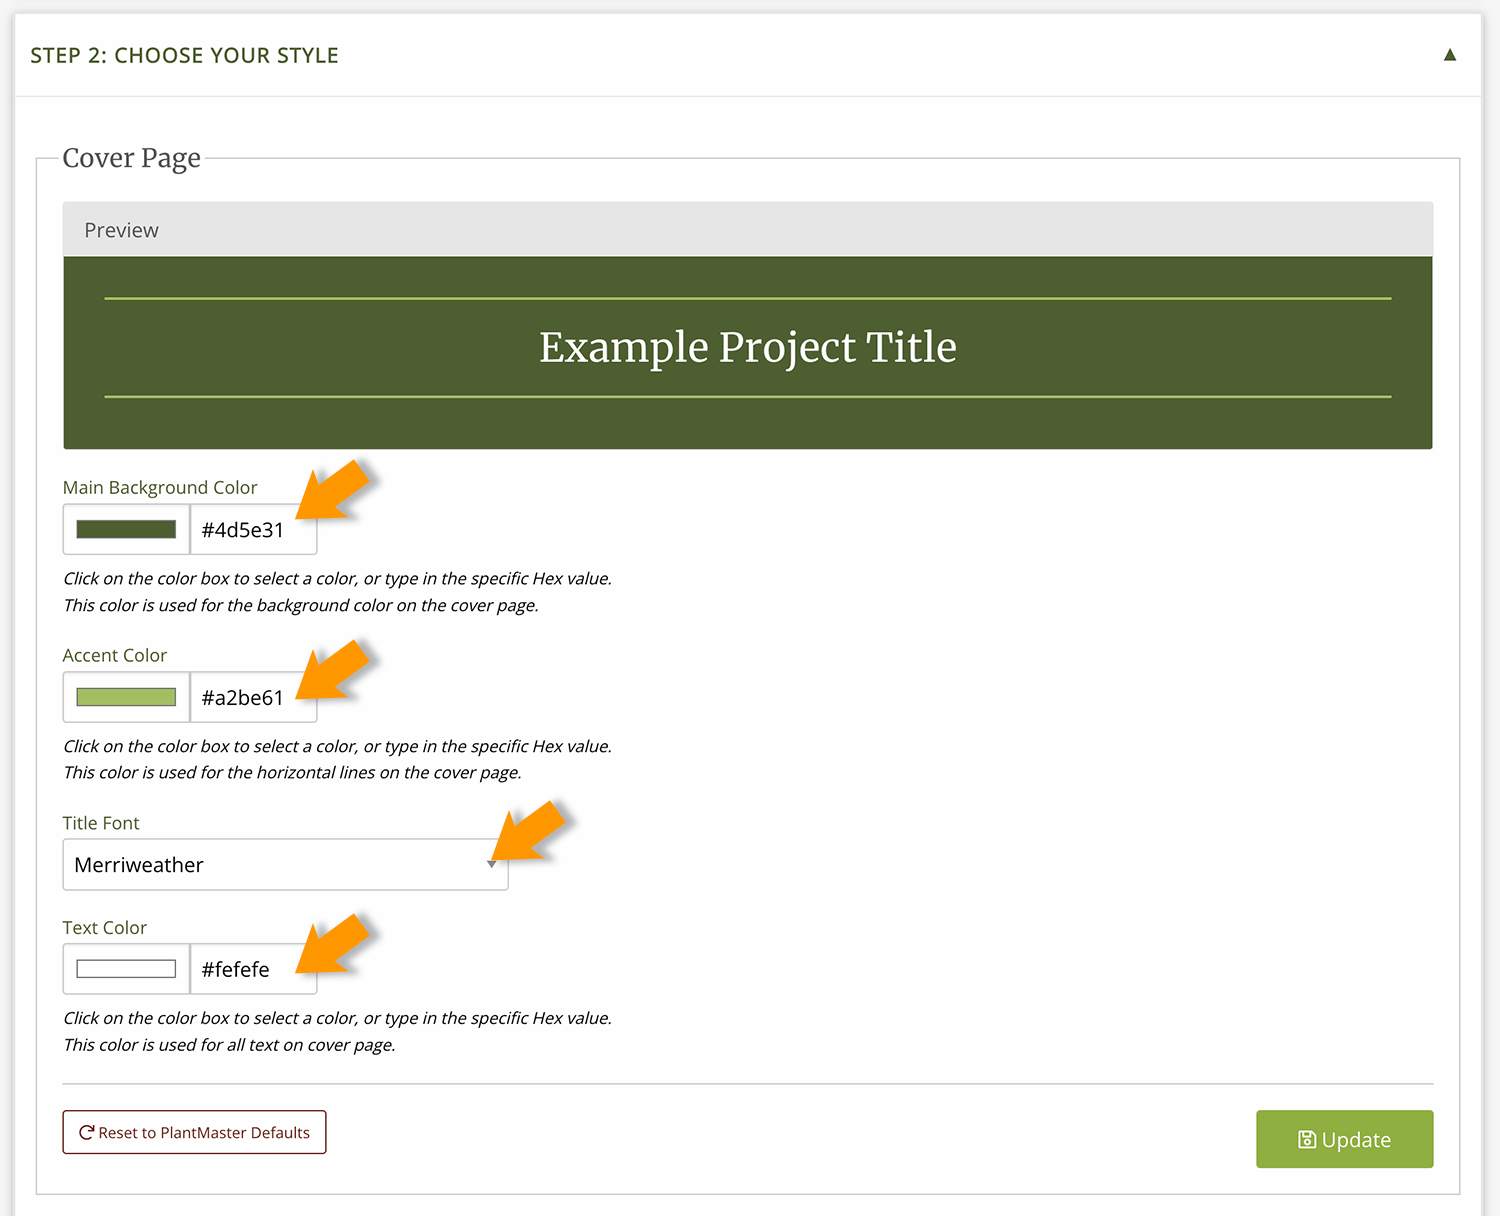
Change the Main Background Color:
To change the Main color of your presentation, you have several options.
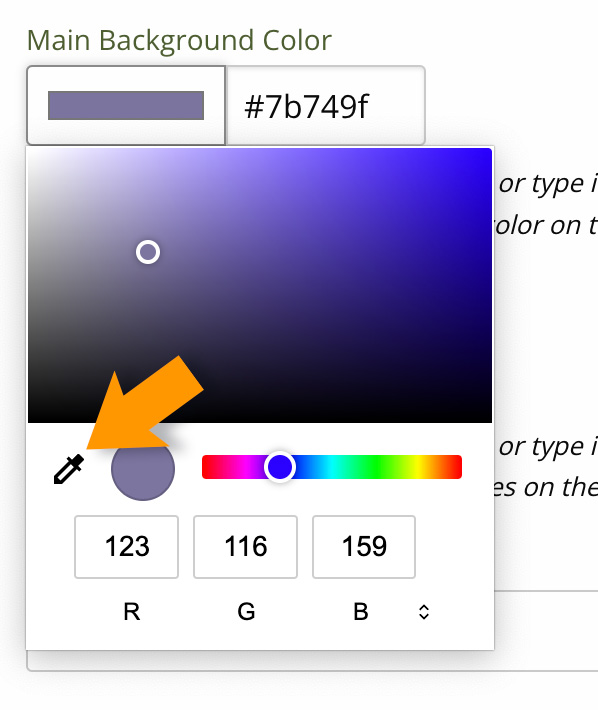
Use the Color Picker:
Click on the color bar to open the color picker. You can drag your cursor around the color wheel to find the perfect color. You can also use the color slider to move through the various colors from magenta back to red.

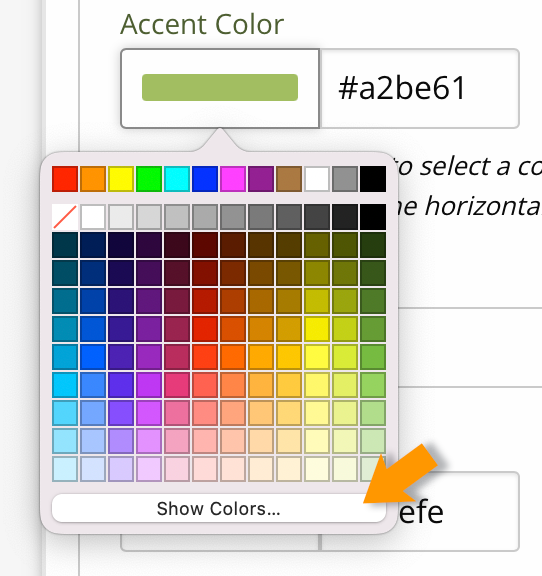
Please note: If you use Safari, your color picker will look a little different. You can click on the colored squares or click the “Show Colors” button at the bottom of the modal to see the full color wheel.
Use the Eye Dropper tool:
The eye dropper tool will copy any color that you see on your screen. So if you have a specific color in your logo or see something online – open the image or pull up the page so the color is onscreen at the same time you are in PlantMaster. Then click on the eye dropper tool to launch the tool. Then hover your cursor over the color you want and click again to select the color.For our example, we hovered over the side menu to select the purple color. Please keep in mind this tool will match the color from your screen. So if you want a very specific color, make sure to enter the specific HEX color in the next option.
Please note: If you use Safari, your color picker will look a little different. Click the “Show Colors” button at the bottom of the modal to see the full color wheel and the eyedropper tool.

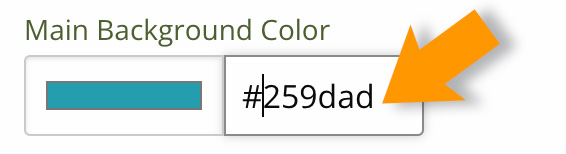
Enter the HEX color:
Every color has a specific color code that you can use to ensure that it will look the same on every device. If you know the HEX color, please type the specific HEX just right of the color. Make sure to include the # symbol or the color won’t load. If you don’t know the HEX color, you can use the eyedropper tool and save the specific color code for the color you select. Then you can use this color code for any future projects so everything looks consistent.
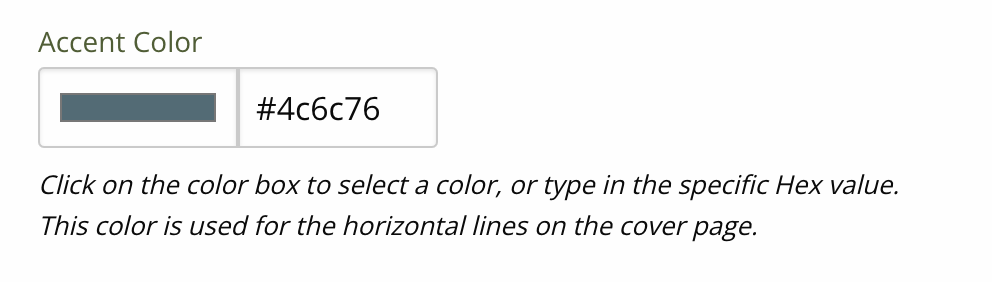
Select your Accent Color:
The accent color is the color of the two lines above and below your project name in the presentations. You can can change this color using any of the methods above.
Please note: If you don’t want to see these lines, make the main background color and the accent color the same HEX color – and the lines will disappear.
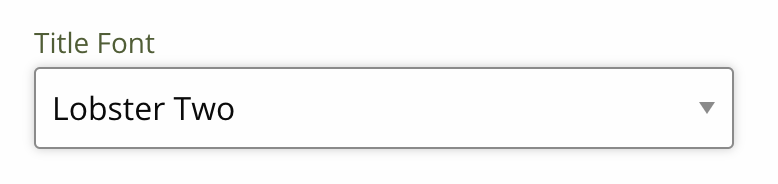
Pick a Font for your Project Title:

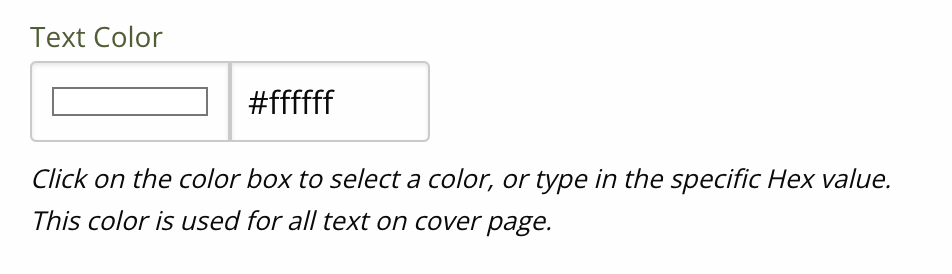
Select a color for all your Text:
You can change the color of the title and text on the cover page. Keep in mind that whatever color you pick will be used for the Project Title AND any message you write to your customers. We recommend that you stick to a dark gray/black or white to make sure your message is legible.
Here are the options we selected for this example:
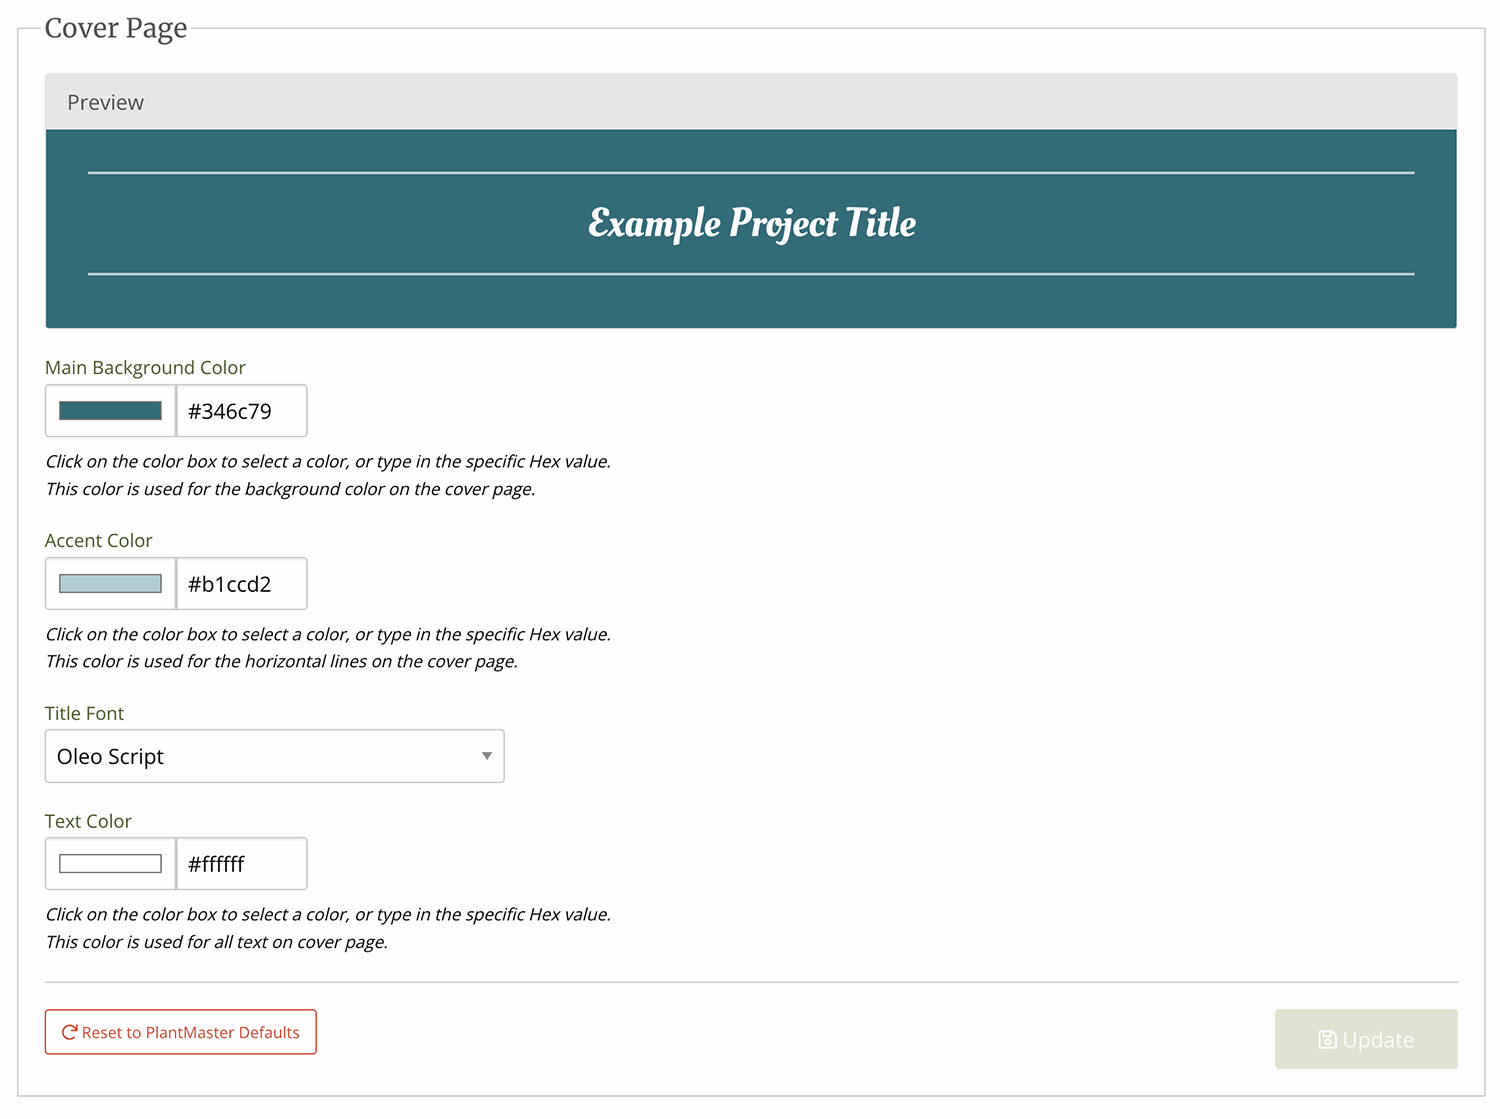
And here is how the updated cover page looks:

Now, let’s move on to style the internal presentation pages.
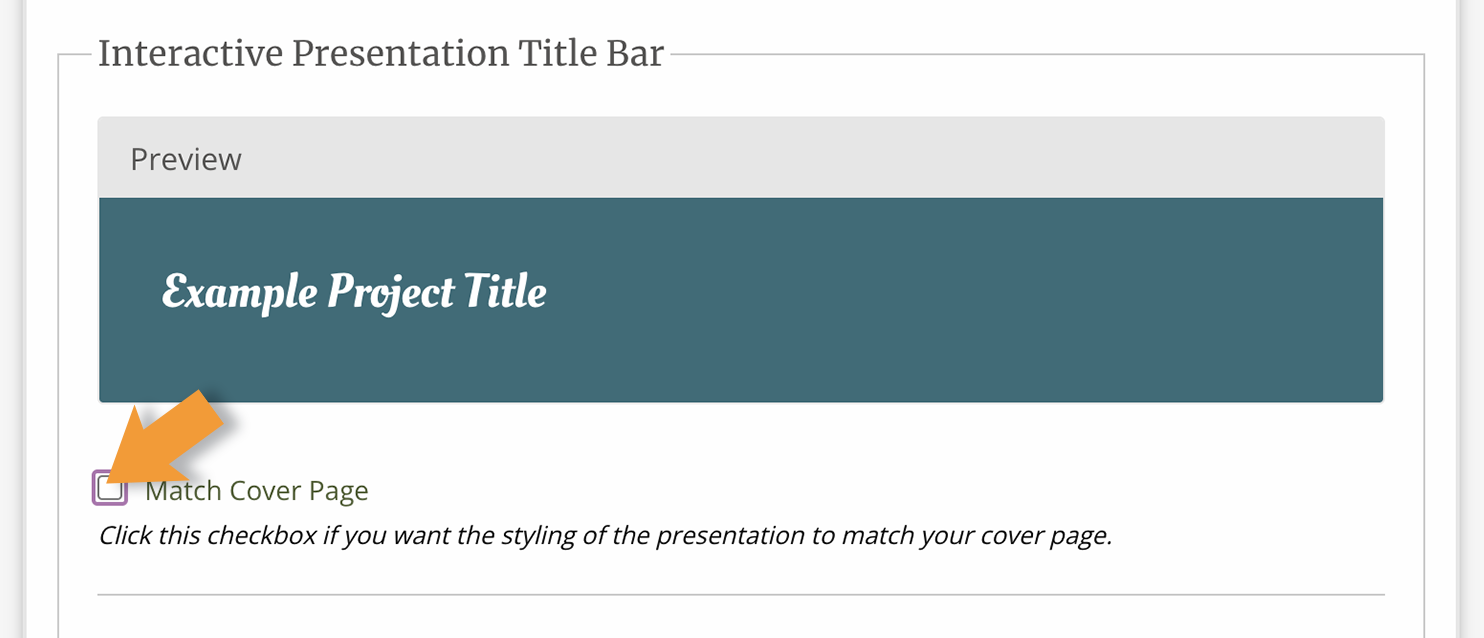
In the presentation itself, you can customize the banner at the top of each page. It looks like this:

Here are all the elements your can modify in your presentation.

You have two options to customize your presentation:
Use the same styling as your cover page.
If you want your presentation to match your cover page, there is an easy way to make this happen. Click on the check box just below the preview that says “Match Cover Page”. This will automatically apply all your selections to the presentation.
Select a custom color and/or font.
If you want to make your presentation pages look different than your cover page, you can select a different color for the banner at the top of every page and you can customize the font and color of the project. Just select a HEX color and font from the options!
Lastly, now that you’ve updated the styling of your presentation – make sure to click the “Create Presentation Link” or “Update” button to save your changes! Complete steps 3 and 4 to finalize and send your presentation. Here is the complete article on how to create and send a presentation. (link here)
PLEASE NOTE:
We’ve made it possible for every project to look different, so if you want to add styling to existing projects, you will need to open each project individually and adjust your styling.
Style Your Presentations – PRO TIPS:
How to update the styling for your current project(s):
First, open your current project (or any project) and go to the Presentation section. In the styling step (Step 2) you can play with the colors, fonts, etc. to get the exact look you want.
Make sure to click “Update” to save the styling – and you are done!
The new style will automatically apply – you don’t need to resend the link. Your customer will just need to refresh the page or re-open the presentation to see the new look!
How to apply the same style to all presentations:
If you plan to create one style and use it for every project, here is the easiest way to set up your existing projects… Start by opening any project and customizing the style to fit your preferences. Make sure to click “Update” to save the changes. Now you have one project with the new styling.
To add the same styling to other projects, you will need to open each project one-by-one.
The good news is that PlantMaster will remember the last styling settings you saved. So once you’re in each project, all you’ll need to do is navigate to the Presentation page, double check that the style is exactly what you want, and click “Update” to incorporate the new style. Repeat this process for every project you want to utilize the new style.