

23 May Send a Presentation
Before you can send a presentation, you’ll need to create a project and add plants. Read this article to create a new project, and read this article to add plants to it.
In this article, you’ll learn the basics of presentations so you can send your customer a presentation within minutes. There are two distinctively different types of presentations in PlantMaster – Interactive Presentations and Simple Presentations.
Presentations: A quick overview
Interactive Presentation:
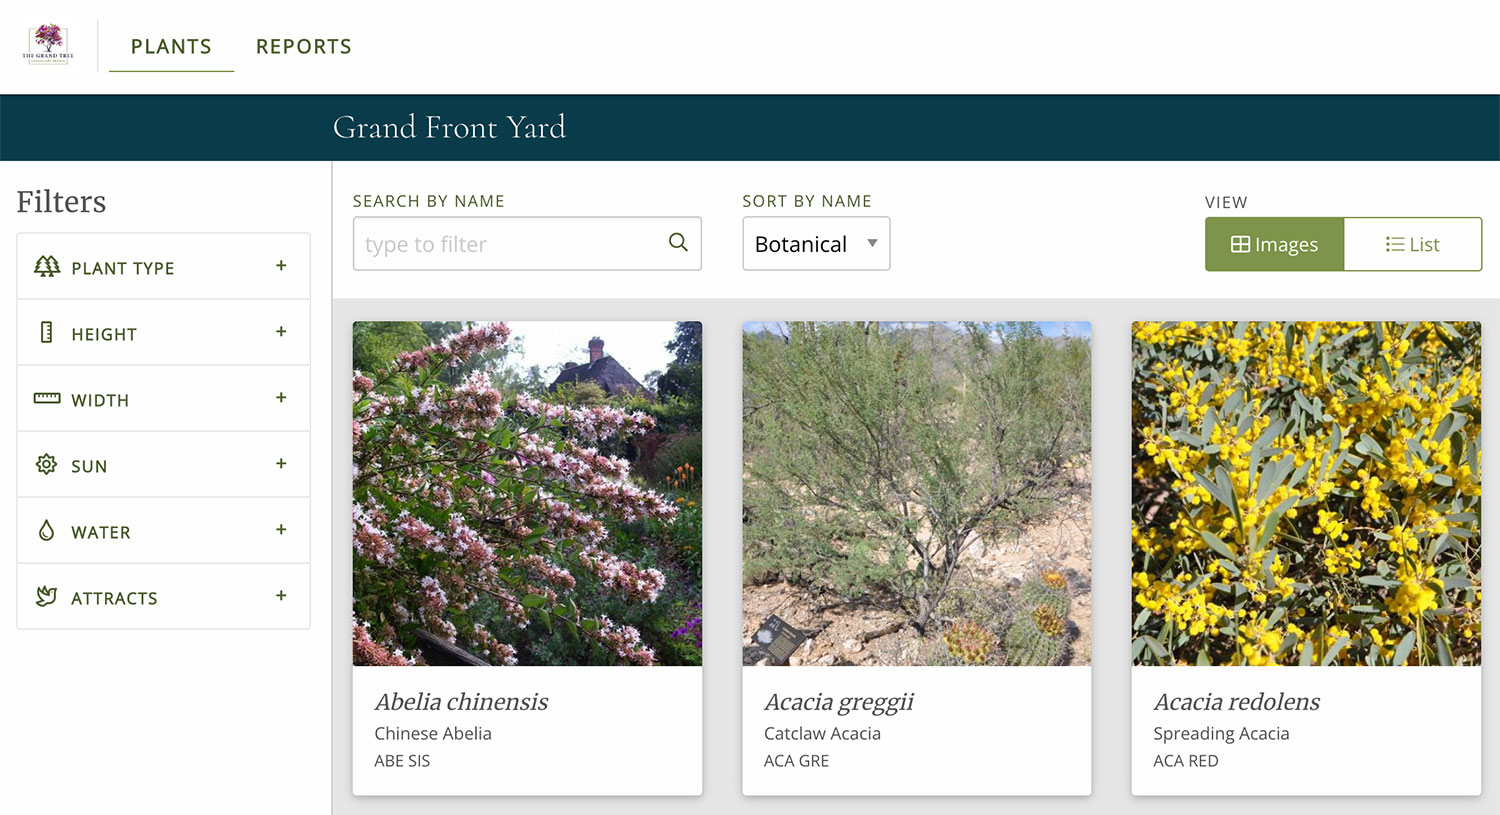
Think of this presentation as a mini-website or microsite. It offers the full experience of each plant to your customers – meaning they can review multiple images of the plants and detailed plant information. This presentation type also includes several reports and the ability to filter through plants.
Simple Presentation:
Simple Presentations work best for more particular customers. Though they are simple in design, you can hand pick what you send to your customer. For example, you can send a single report or combination of several plant reports in one link. Maybe your client is little more finicky and tends to question every decision. For them it makes sense to send a presentation with limited information and a single image.

At the end of this article you’ll find links to more in-depth training for both presentation options.
Let’s get started!
Send your first presentation.
If you’re not already in your project, click on “Current Project ” in the main menu.

Now that you are in the current project, look to the far left. This is the project navigation bar. The last option in this bar is “Present” – click it open your presentation options.

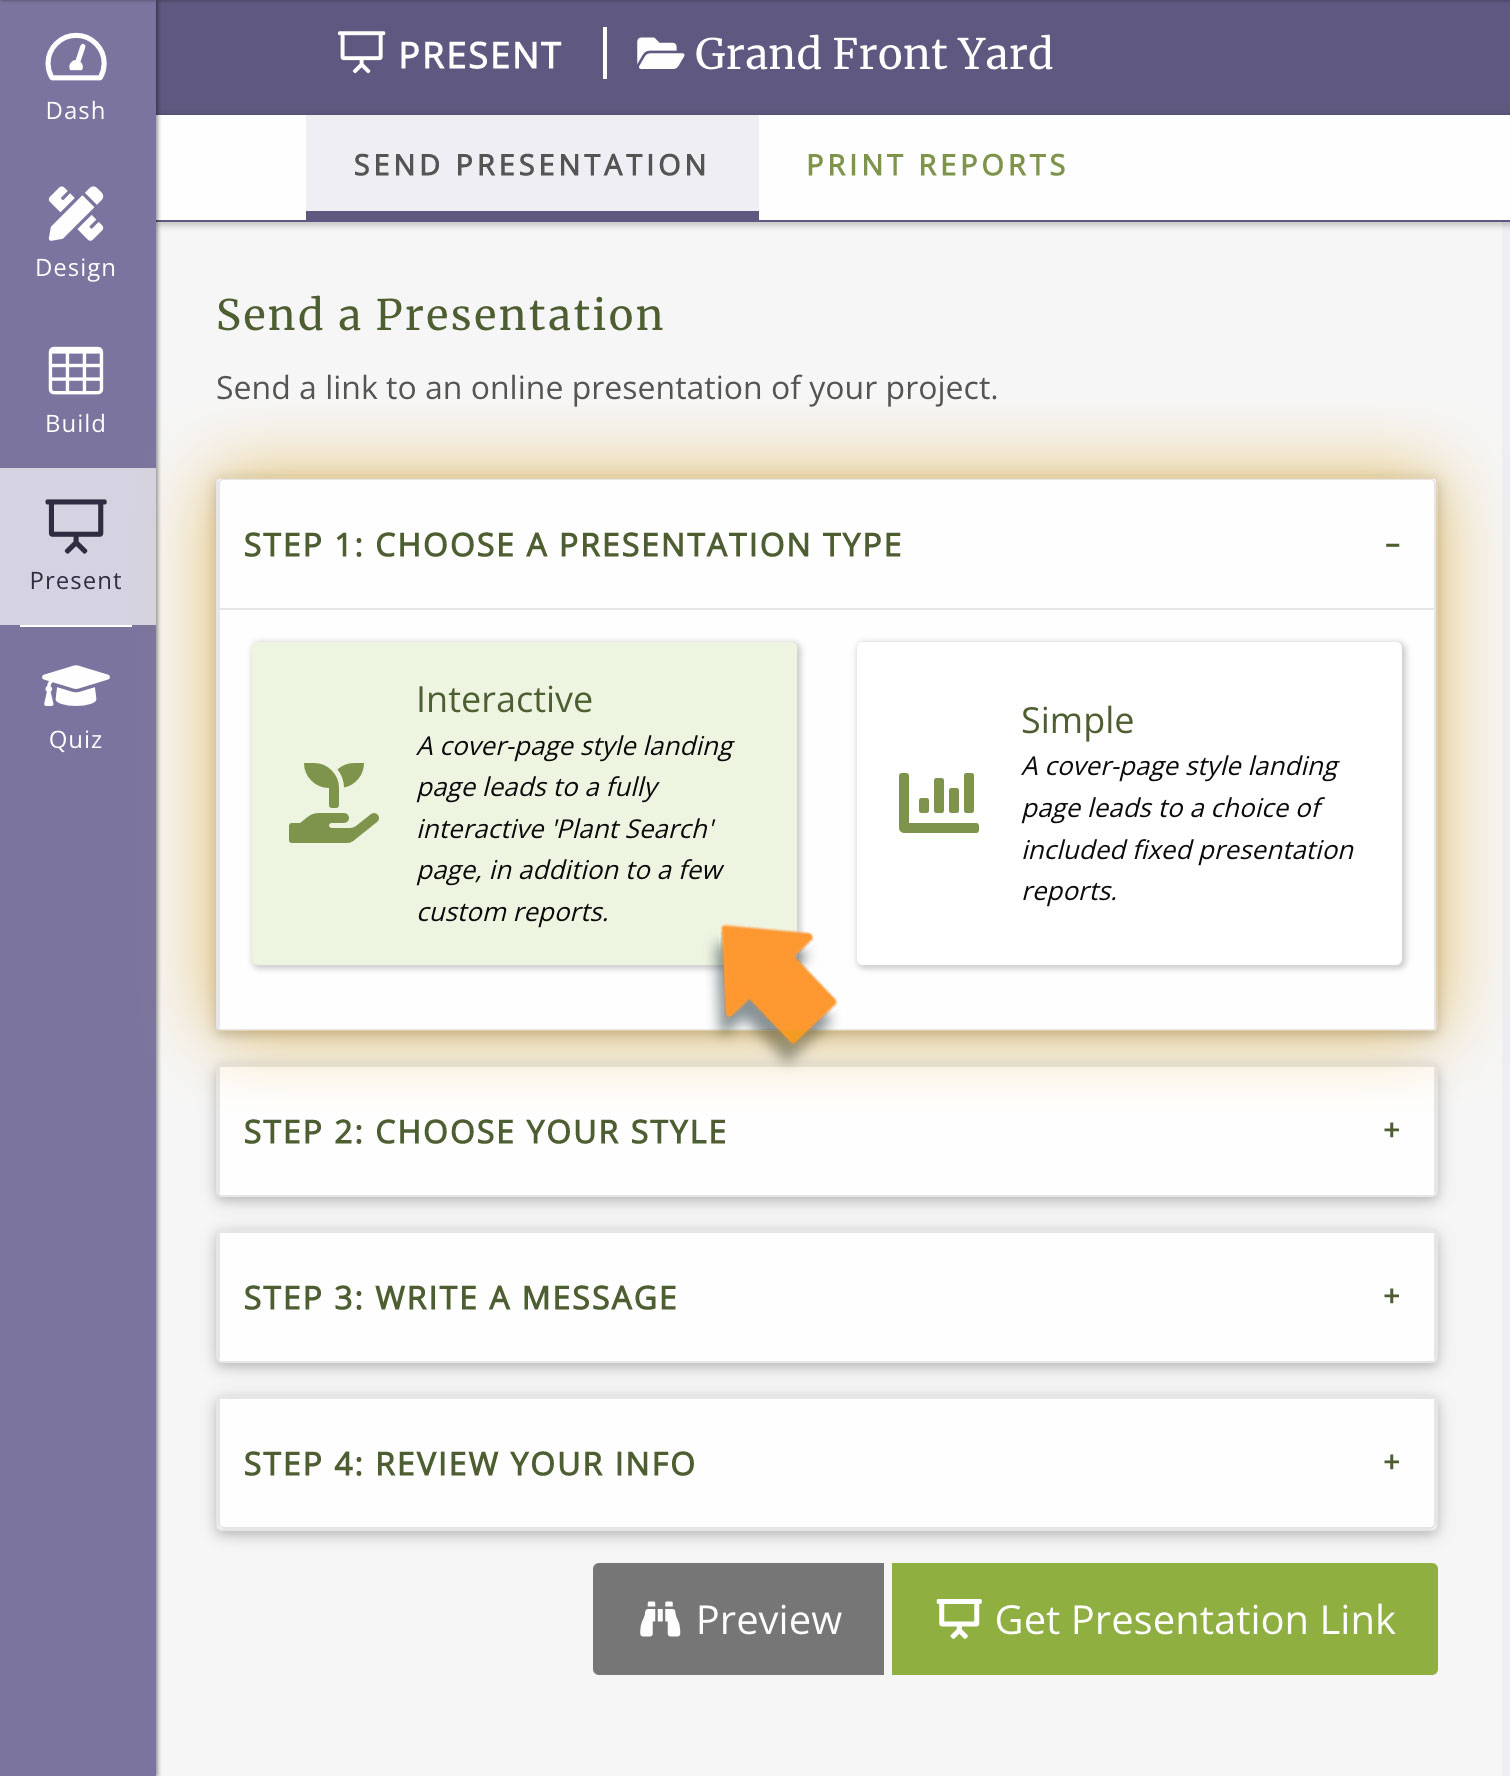
Step 1: Choose your presentation option
Make sure you’re in the “Present” section of your project. Everything will be in shades of purple if you’re in the right place. From here, the first step is to choose the presentation type you want to send. For this training, we’ll walk you through an interactive presentation. Select “Interactive” from the two options.
Step 2: Choose your Style
You can change the colors and fonts of your presentation to reflect your branding. Select the color you want as the main color background, then go through the steps to select your text color and fonts. For complete details on how to select your branding elements, please read the article titled Style Your Presentations.

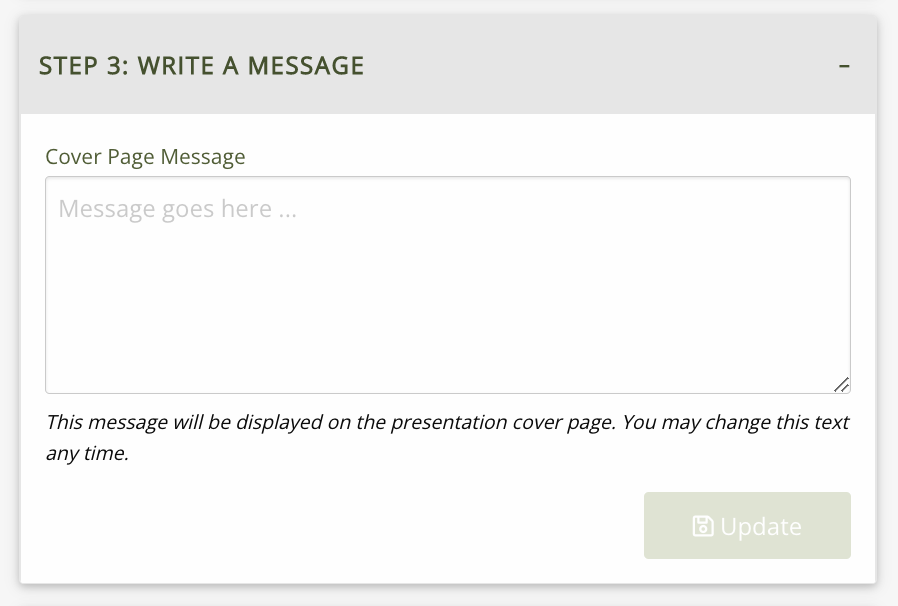
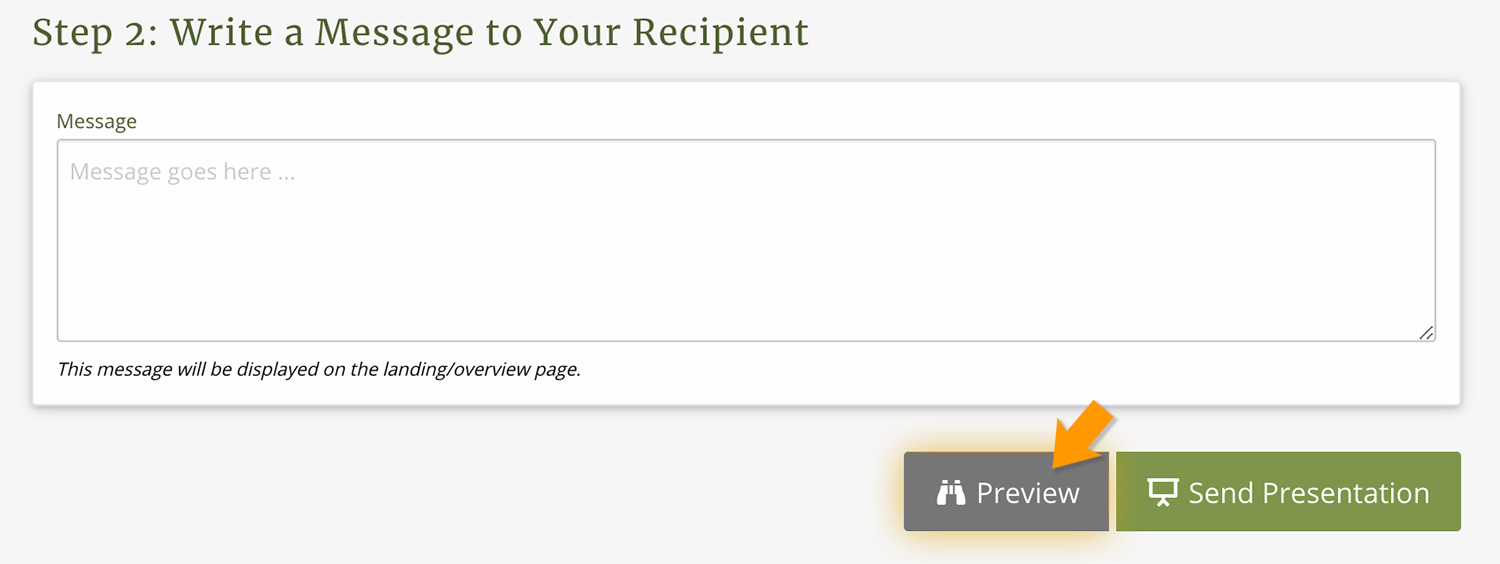
Step 3: Write a Message to Your Customer
Both presentations automatically include an overview page with your logo and contact information on the left side. The right side will display your customer’s name plus any notes you’ve written for them about this project.
This is the space where you can write a note to your customer. You can introduce the project, highlight specific plants you want them to review, or share any changes you’ve made, etc. You can update this message any time and it will automatically update in the presentation (your customer will just need to refresh the page to see these changes – no need to resend the link). So use this space however you see fit and feel free to update often.
Type in your message.
Step 4: Review your information
Near the bottom of the page is your final check section. Review these elements. You can click on each item to edit that information directly. Once everything looks good and you are happy with your Preview – you’re ready to send the presentation!

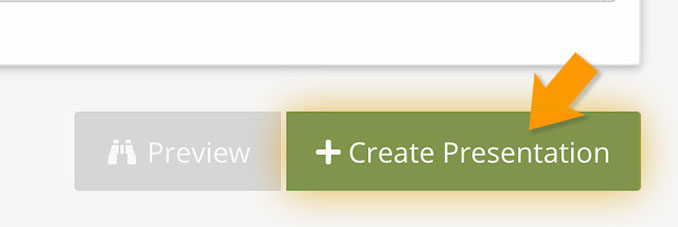
Last Step: Create and send your presentation
Just below the review section, click on the button green button to the right called “Create Presentation” – this will generate the presentation link.
Now the preview option will be available. Please click “Preview” to open your presentation and review it. Please note, the presentation will open in a new tab in your browser.
At this point, you can send your presentation by clicking “Send Presentation”! However, we recommend you do a final check before you send it off to your client.
Send Your Presentation
Once you are happy with how everything looks, you’re ready to send! To do so, click on the button called “Send Presentation”.

This will open a modal with the specific link to your presentation. To copy this link, click “Copy Link” next to the link itself.

You will get a note that says “Copied to clipboard” – now you have the presentation link ready to send!
Next, open your email and start a new message to your customer. Include a brief paragraph or two about what you are sending them and how they can use the presentation. Better yet, use the email to schedule a time to go through the presentation together on the phone or over video!
Then make sure to paste the link to the Interactive Presentation. Right click and select “Paste” or type the keyboard shortcut Command + V on a Mac or Control + V on a PC to paste the custom web address into your email.
Hit “send” and you’re done! Your Interactive Presentation is off! You’ll use this same link any time you share this particular presentation. If you make an update to the project in PlantMaster, your customer just needs to click on the same link and refresh their web browser and they will see any updates you’ve made to their project instantly!
Next Steps | FAQ + More Training
Read these articles for more detailed training:
In depth training – Interactive Presentations
Take a Tour – Interactive Presentations
In depth training – Simple Presentations
When should I use the Interactive Presentation versus the Simple Presentation?
The quick answer is that if you want to share more plant information and a great selection of images, send the Interactive Presentation. If you want to share more limited information or a single report, then you may prefer to send the Simple Presentation. See the links above to learn more about each presentation type.
On the overview page, why is the project name listed instead of my customer’s name?
PlantMaster will automatically display your customer’s name on the overview page and will read “This presentation is created for [Customer Name]”. However, if you have not added the customer name to your project, it will default to displaying the Project Name instead. To revise, simply go into the project, click “Show Customer Info”, and add your customer’s name in the customer name field.